How to keep your pixel art crisp in Photoshop
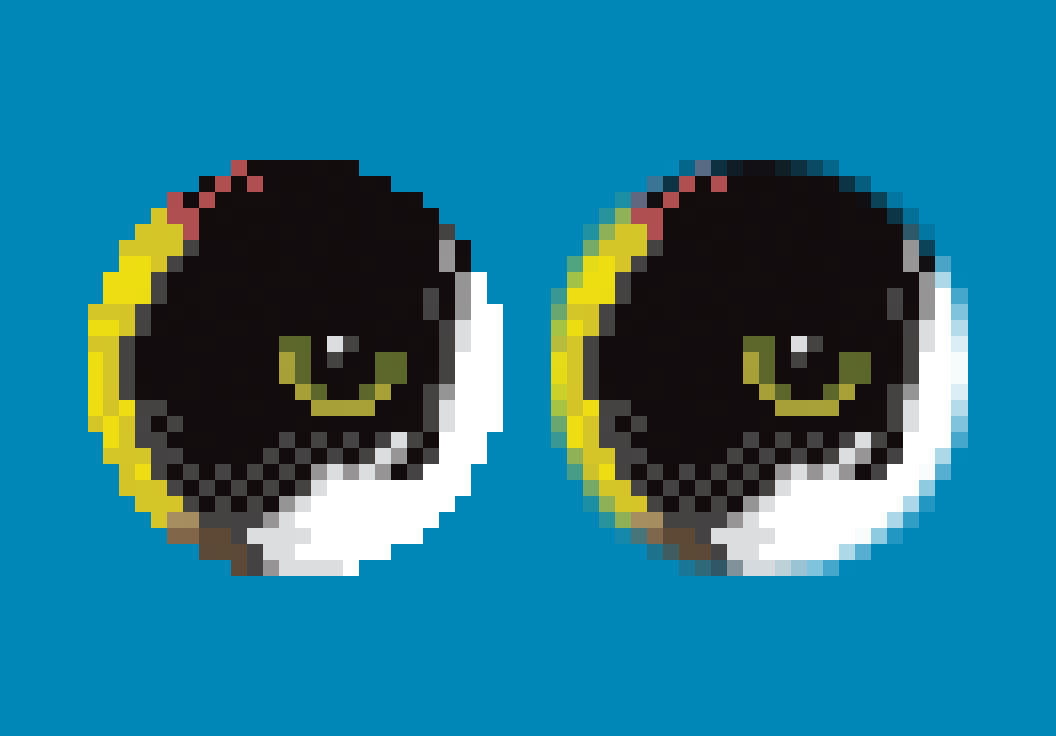
People are often surprised to hear I use Adobe Photoshop to make my pixel art. I totally get it… the default settings are made for photo editing and painting, so it’s easy to end up with blurry pixels and fuzzy edges. But if you follow these three tips, you’ll keep your pixel art crisp from the start.
1. Use the Pencil Tool, not the Brush Tool
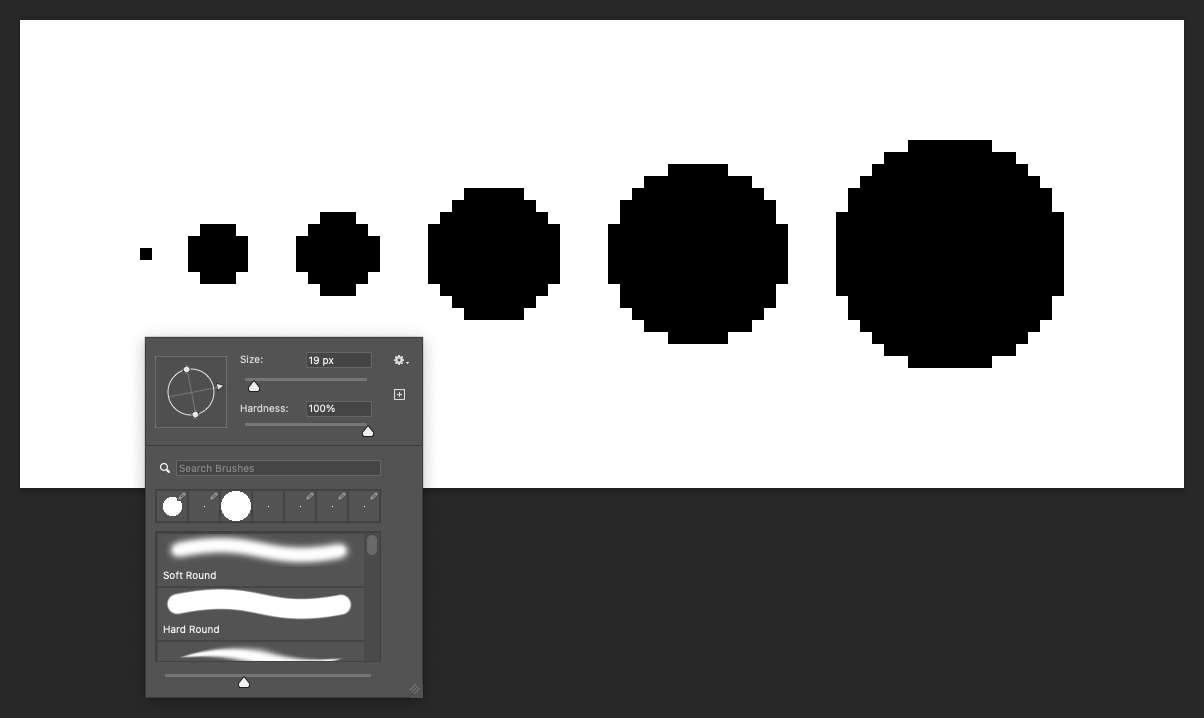
Photoshop’s Brush Tool might be great for painting, but it adds softness you don’t want in pixel art. Instead, grab the Pencil Tool — it places pixels with single-pixel precision and gives you clean, hard edges.
You’ll find it nested under the Brush Tool in the toolbar.
Pro Tip: The Brush Tool softens edges; always use the Pencil Tool for crisp pixel art.
Pro Tip: You can increase the Pencil size to much more than 1 pixel to quickly rough in hard-edged shapes like circles or thick outlines.
2. Turn off anti-aliasing in your selection tools
By default, Photoshop adds a bit of feathering to your selections — and that’s a recipe for blurry edges. You’ll want to uncheck the “Anti-alias” box for any selection tool you use:
Rectangular Marquee Tool
Elliptical Marquee Tool
Lasso and Polygonal Lasso
Magic Wand Tool
Pro Tip: Turn off anti-aliasing in every selection tool; it’s the primary source of accidental blur.
Once you do this, your selections will snap cleanly to the pixel grid.
3. Always use "Nearest Neighbor" when scaling
Want to resize your artwork without turning it into a blurry mess? Photoshop’s default interpolation adds in-between shades that ruin the crispness of your pixels. The fix:
Go to Photoshop > Settings > General
Set Image Interpolation to Nearest Neighbor (Preserve Hard Edges)
Then, when resizing your image via Image > Image Size, your pixels stay sharp.
Use only Nearest Neighbor when resizing, every other image interpolation method introduces blur.
Pro Tip: If you’re scaling layers, convert them to Smart Objects first (Layer > Smart Objects > Convert to Smart Object), or Photoshop will apply smoothing.
Final thoughts
Photoshop gives you access to a lot of tools that many pixel art programs don’t, which can be a big plus once you know your way around. But it also means you’ll need to tweak a few settings to really get cooking. Set things up right from the start, and you’ll be rewarded with crisp, clean pixels every time.
Want more tips like this? Browse the Articles section for practical pixel art advice collected over 20+ years of creating work for clients like Marvel, ESPN and Disney.


